Chapter 9 – Bonus Point
Chapter 9.3 – Create a new Member
1.Users are to create member in POS Front End.
2.The members created in POS Front End and Backend are using different set of running numbers.
Users need to set the running numbers format for member to able create member.
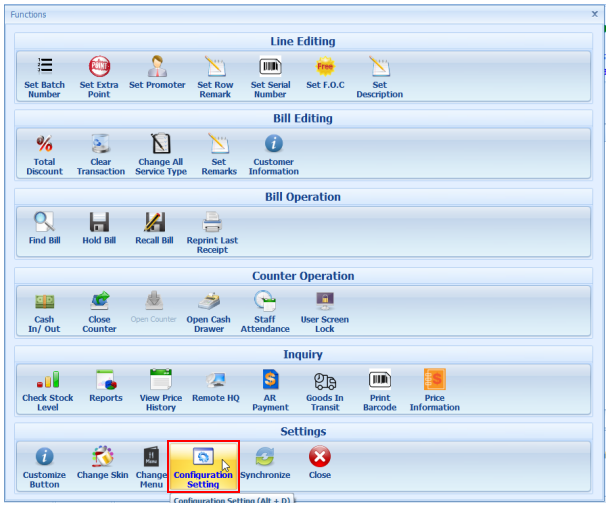
Go to More Function > Configuration Settings.
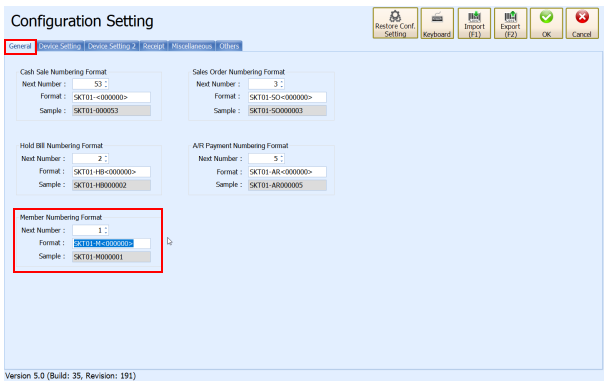
At ‘General’ tab, set the format at ‘Member Numbering Format’.
Click ‘OK’ to confirm action.
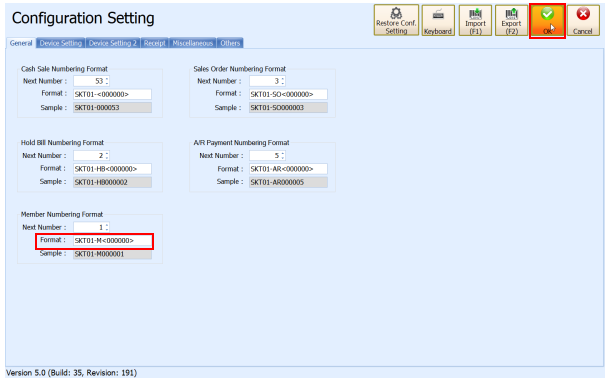
Users are able to create member after done these actions.
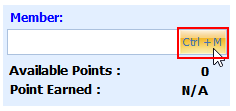
At main screen, click ‘Ctrl + M’ or use shortcut key ‘Ctrl’ and ‘M’.
At ‘Find Member’ window, click ‘New’ button.

At ‘New Member’ window, fill up the information and click ‘OK’.
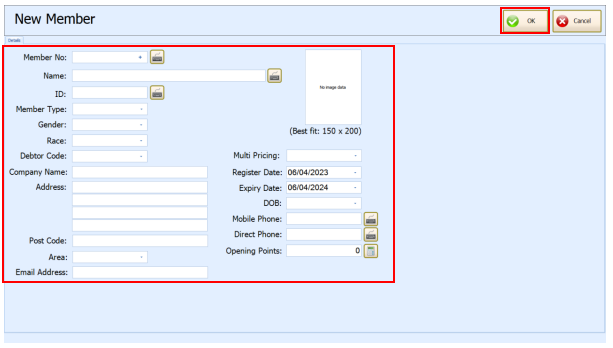
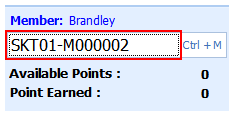
The member is created and selected in main screen.
At ‘Find Member’ window, the created member will be on the listing.

‘Edit Member’ will show up, modify the information and click ‘OK’.
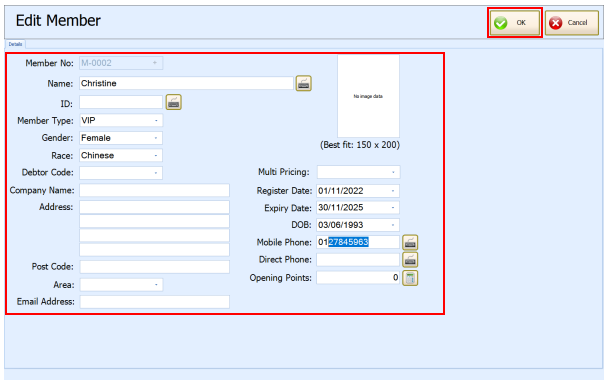
‘OK’ button is confirm selection of member.

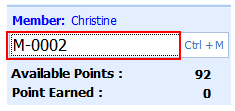
Select the member and click ‘OK’ to confirm selection.

The selected member will appear in the main screen.
‘Cancel’ button return to main screen.

Tick the checkbox to show all members in system without perform search.
