Chapter 8 – Barcode
Chapter 8.1 – Print Barcode
Users are able to print barcode with AutoCount POS Front End.
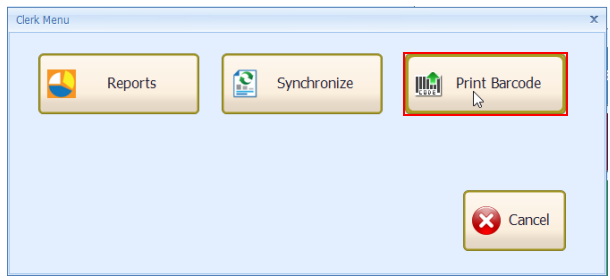
There are two ways to access Print Barcode, one is inside Clerk Menu on Login Screen.
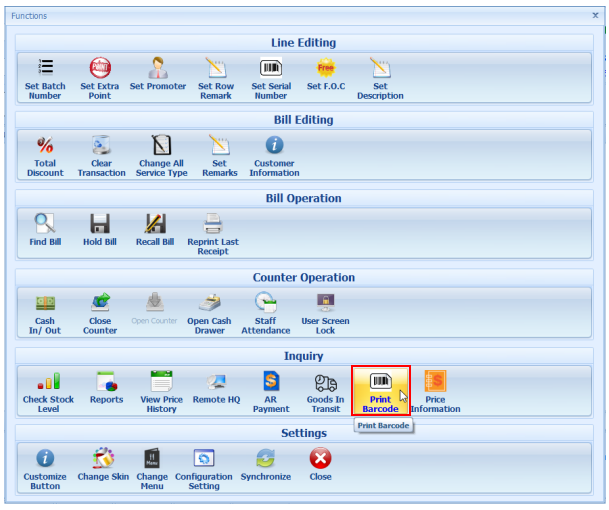
The other way is at Main Screen, More Function > Print Barcode.
At Print Barcode, there are various functions on the top right corner.

Search: Select Item window will show up, look for items created in system.
Tick the checkbox and click OK to select the item.
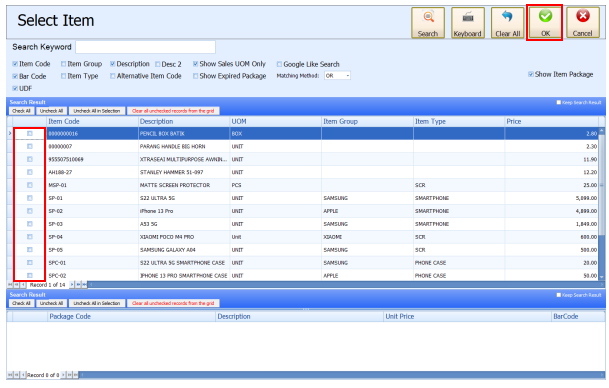
The selected items will appear in the listing.

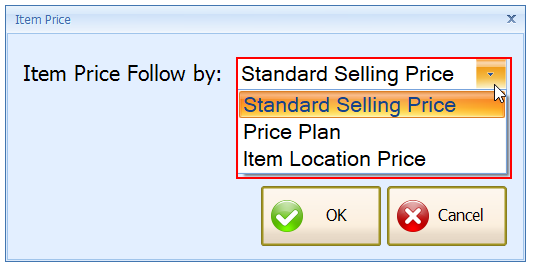
Pricing: Select pricing option for the selected item.
New: Add a new row.

Delete: Delete the selected row.
Select the row and click Delete.

The row is deleted.

Clear: Empty rows in Print Barcode’s listing.

Once you clicked the Clear button, the image below will appear. Click OK to proceed action and Cancel to stop the action.
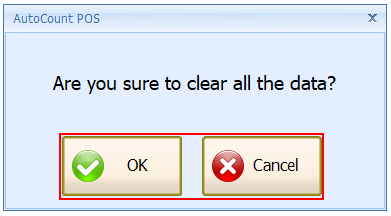
Once the action is performed, the listing will be empty.

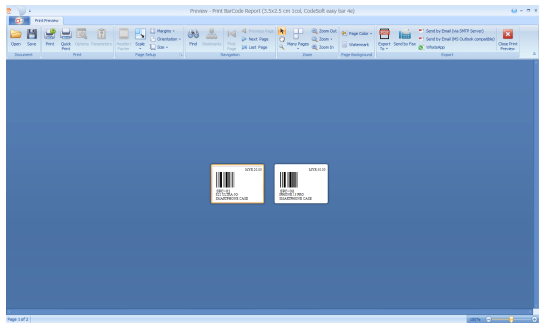
Preview: Preview the listing with barcode format.
At Preview window, users are able to preview the items in barcode format.
Print: Print the items in listing with barcode format.
Close: Close the Print Barcode window, back to POS Front End’s main screen.
